SD教程|线稿上色和转3d效果
所用工具:Midjourney+StableDiffusion
一:黑白线稿用sd上色
首先用一段咒语绘制让mj绘制一些黑白线稿图(也可以自己画,我是省事,让ai互相帮助)
咒语:Black and white line drawing illustration of a cute cat cartoon IP character, black line sketch, wearing flight glasses on his head, beret, carrying a huge hiking bag filled with all kinds of essential hiking gear and toys, matching rope and straps at his wrists, adventure element style, popular toys, blind box toys, Disney style, ((white background)) –ar 3:4 –style expressive –s 180 –style expressive

生成了四个旅行的猫咪,先看看我的最终效果:
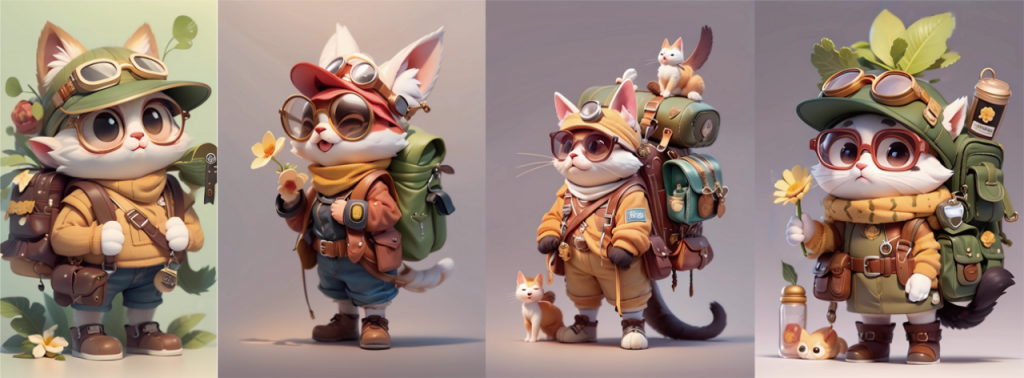
自我感觉还行,需要多抽卡
制作过程:
1.打开sd,大模型选用revAnimated_v122.safetensors,Lora模型用blindbox
2.图生图上传需要转3d的黑白线稿,反推提示词(蓝色框框里就会出现根据图片反推出来的提示词,然后自己可以检查一下,加你想要的颜色和风格的提示词),在负面提示词里添加万金油提词
“NSFW, (worst quality:2), (low quality:2), (normal quality:2), lowres, normal quality, ((monochrome)), ((grayscale)), skin spots, acnes, skin blemishes, age spot, (ugly:1.331), (duplicate:1.331), (morbid:1.21), (mutilated:1.21), (tranny:1.331), mutated hands, (poorly drawn hands:1.5), blurry, (bad anatomy:1.21), (bad proportions:1.331), extra limbs, (disfigured:1.331), (missing arms:1.331), (extra legs:1.331), (fused fingers:1.61051), (too many fingers:1.61051), (unclear eyes:1.331), lowers, bad hands, missing fingers, extra digit,bad hands, missing fingers, (((extra arms and legs)))”
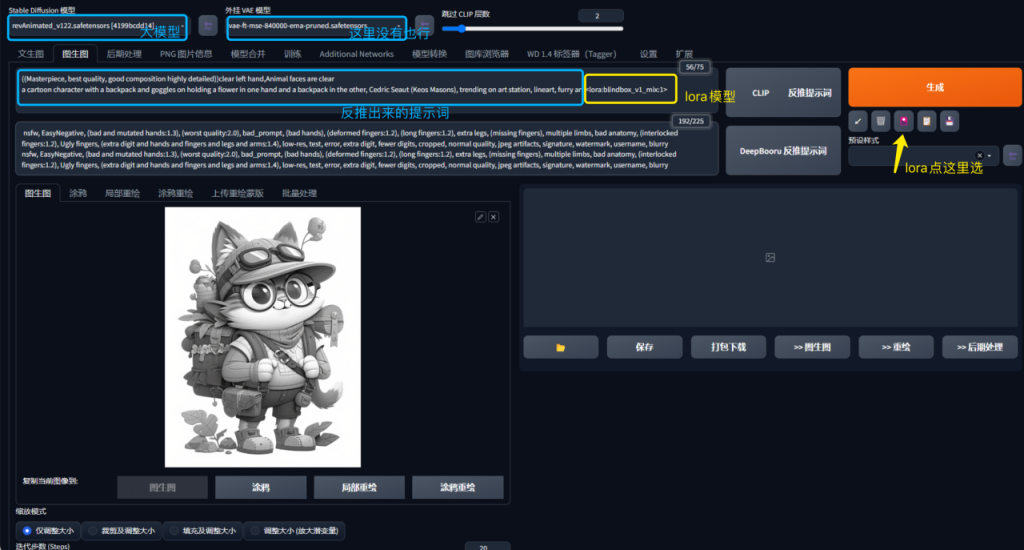
3.再打开controlnet插件,上传线稿图,点击启用,选择提取线稿的预处理器canny,设置好合适的尺寸(最好和你原图的长宽一致),选择采样器,批次可以设置一次性生成4张图,点击生成。
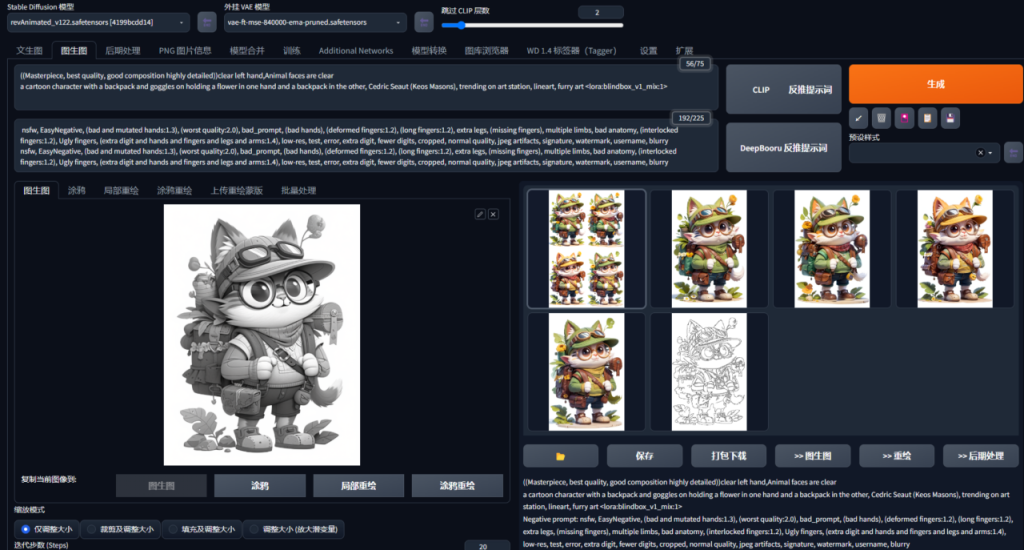
这样就是上色成功了,抽卡就行了。
二:黑白线稿转3d效果
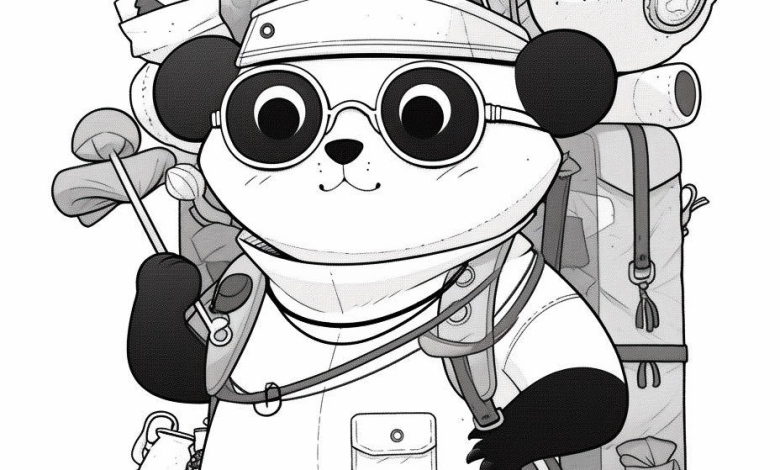
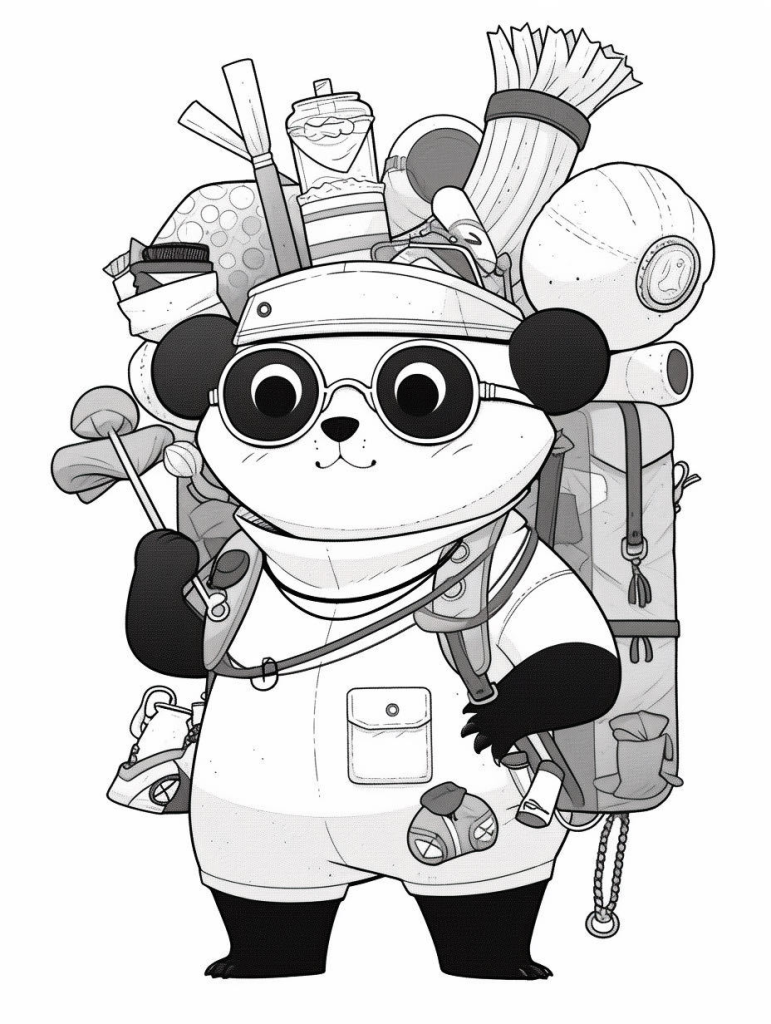
重复以上的步骤,用mj生成了一只旅行熊猫的线稿图
这只黑白线稿和上面的几只猫咪比较起来,细节更简单,线条更简洁,明暗效果几乎没有,这样的图放进sd里也是可以实现3d效果的。
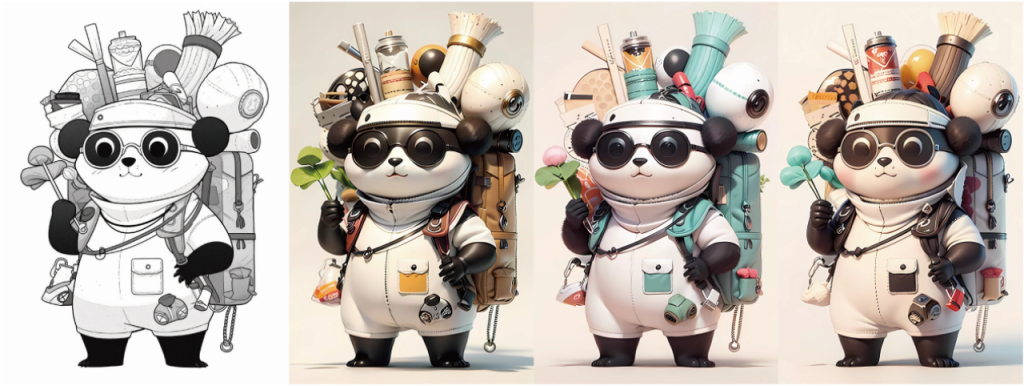
方法:重复上色的步骤,在提示词里添加3d,c4d,blender这样的提示词,根据需求加权重。可以试用不同的采样器看效果。以下关于采样器的小小内容来自知乎:
- 如果只是想得到一些较为简单的结果,选用欧拉(Eular)或者Heun,并可适当减少Heun的步骤数以减少时间
- 对于侧重于速度、融合、新颖且质量不错的结果,建议选择:
- DPM++ 2M Karras, Step Range:20-30
- UniPc, Step Range: 20-30
3. 期望得到高质量的图像,且不关心图像是否收敛:
- DPM ++ SDE Karras, Step Range:8-12
- DDIM, Step Range:10-15
展示我的熊猫线稿转3d效果:
快去试试吧!


